


Before You Blame the Boolean: Mesh Checks That Make Dental Design Easier to Read

Boolean cuts and remeshing are powerful, but they depend on the geometry you give them. A short inspection routine can make failures easier to diagnose—and easier to learn from.

A Boolean is not a substitute for understanding the mesh
When a Boolean does not behave as expected, it is tempting to change the solver and try again. Sometimes that is the right move. But before cycling through settings, it helps to ask a more basic question: what is the model telling BlenderforDental about its shape?
The founder-led session behind this article starts with the building blocks—vertices, edges and faces—and then connects them to the operations dental designers use to form, cut and repair geometry. That is a useful order. A Boolean can only calculate from the objects and mesh conditions it receives; it cannot infer what the designer intended.
Check face direction before diagnosing the cut
A mesh has an inside and an outside, represented by face normals. BlenderforDental’s Face Orientation display makes this easier to inspect: in the demonstrated view, blue indicates the outward-facing side and red indicates reversed orientation. If a surface has been extruded in the wrong direction, the visible result may look plausible from one angle while the mesh is still oriented incorrectly.
That matters downstream. The presenters point out that inverted faces can produce unexpected Boolean behaviour and may cause problems when a model is prepared for slicing.
So before trusting a result, turn on Face Orientation and inspect the object. If the normals are wrong, correct them deliberately—for example, by recalculating or flipping normals where appropriate—then review the result again.
“If you’ve got a model that’s got any red on it, use the Face Orientation checkbox to check it.”
Give the cutter a real intersection
A Boolean Difference subtracts the volume of one object from another. Union combines overlapping volumes, while Intersection keeps the shared volume.
The cutter is an object in its own right, and the relationship between the cutter and the target is part of the operation.
If two faces sit exactly on top of one another, the result can be ambiguous. In the session’s demonstration, a small adjustment—moving the cutter slightly into the target, or making it just large enough to pass through—helps create a definite intersection. This is not an invitation to change clinical dimensions casually; it is a reminder to understand what the geometry is doing and make only a justified adjustment.
Some Boolean methods also rely on sound, closed geometry. Open boundaries, non-manifold edges, self-intersections, or other mesh defects can make an operation fail or produce a result that needs repair. Different solvers have different trade-offs in speed and tolerance, and a more exact calculation can take longer or still fail on difficult geometry.
The useful habit is to inspect the input and then choose a solver for the problem—not to assume one setting is universally best.
Apply scale before remeshing
BlenderforDental files can arrive with different unit assumptions or object scales. A model may look the right size in the viewport while its scale values are far from 1.
The session demonstrates why that matters: remeshing an object with a very small or unusual unapplied scale can create an unnecessarily dense mesh and make the operation slow or impractical.
After confirming the object is at the intended size, apply its scale or transforms when appropriate, then verify the scale values before remeshing. This keeps the geometry calculation aligned with the object’s actual working dimensions.
Do not use scaling as a blind repair step: first confirm the units and dimensions, then normalize transforms when the workflow requires it.
Remeshing trades one kind of detail for another
Remeshing can help create more uniform geometry, but it is not a neutral operation.
The session compares voxel-style and sharp remeshing. Voxel remeshing can be useful for closed objects and for rebuilding a more even mesh, but it may soften narrow or sharp features. Sharp remeshing can preserve edges more faithfully, though its settings affect the density and result.
That trade-off is especially important around small details. A setting that is appropriate for a broad base may not preserve a delicate edge. Higher detail can increase vertex count and processing demands; more vertices are not automatically more accuracy. Check the model at the scale of the features that matter, and inspect the resulting mesh rather than relying only on a slider value.
The session also shows dynamic topology while sculpting: the mesh can be rebuilt as you work. That can be useful when shaping a form, but it changes the underlying geometry. Use it intentionally, and remember that a sculpting or remesh operation may affect a model differently from a simple positional edit.
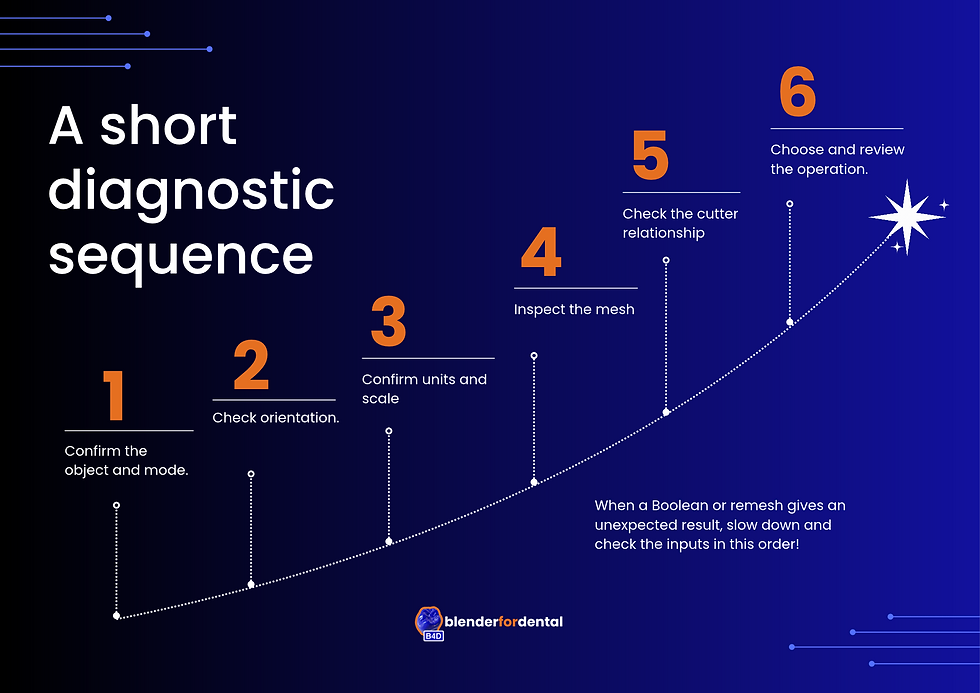
A short diagnostic sequence
When a Boolean or remesh gives an unexpected result, slow down and check the inputs in this order:
Confirm the object and mode. Make sure you have the intended target selected and know whether you are in Object or Edit Mode.
Check orientation. Use Face Orientation to look for reversed faces, then correct and recheck as needed.
Confirm units and scale. Make sure the file is the expected size and apply scale or transforms when the workflow calls for it.
Inspect the mesh. Look for open boundaries, non-manifold areas, or intersecting geometry that could interfere with the operation.
Check the cutter relationship. Confirm there is a meaningful overlap rather than two surfaces merely touching.
Choose and review the operation. Select a suitable Boolean or remesh method, inspect the result from multiple views, and keep an editable copy when further adjustment may be needed.
This is not a substitute for validating a design in the downstream manufacturing workflow. It is a way to make BlenderforDental’s behaviour more understandable, so you can locate the source of a problem instead of guessing.
Why learn these fundamentals with B4D?
BlenderforDental places mesh operations inside dental-focused workflows, including model design and blockout, while keeping the underlying geometry visible enough to inspect.
That combination matters: a module can help organize a task, but understanding normals, scale and intersections helps you make better decisions when a result needs attention.

B4D is designed for skill-building and user control, with a buy-once-for-life approach rather than a subscription-led learning path. The value is not that every mesh problem disappears; it is that you can learn to recognize what is happening and respond with more confidence.
Ready to Explore a More Deliberate Workflow?
If you want to build these skills around dental design tasks, explore the B4D shop for the available modules, including tools for model design and blockout.

Connect with the B4D
The best digital dentistry stories are rarely finished when the file is exported. They continue through discussion, review, manufacturing feedback, and the next case that asks a better question. Explore the B4D YouTube channel for more case-led ideas and workflows.
• Instagram: @blenderfordental
• Facebook Group: Blender for Dental Community
If you have a design story that could help another clinician, designer, or student feel more capable, share it with the B4D team at marketing@blenderfordental.com.
Editor’s credit
This story was edited and curated by Dr. Samira Alrefaey, Blog Editor and Marketing Specialist at BlenderforDental. It reflects B4D’s commitment to sharing the reasoning behind digital dentistry—not only the finished images.
About BlenderforDental
BlenderforDental is a suite of dental add-ons for Blender that supports human-led digital dentistry across models, implant guides, crowns, bridges, dentures, hybrids, iBars™, and more. Each module is designed to give dental professionals practical control over their work, with tutorials included and a buy-once-for-life approach. Learn more at blenderfordental.com.


Comments